How to Use the [Line] Label Component
Route: Label Generator - [ How to Use the [Line] Label Component ]Lines are often used for decoration in label design—for example, drawing tables. To add a line to your label: 1.Click the [Line] component in the left-side Component Bar. 2.Click the newly added line in the preview to move, stretch, or edit it.
Five Editing Types for Lines
The Line component offers five editing types to restrict or enable line adjustments:

- [Free]:Default type. The line can be adjusted freely in any direction.
- [Set as Vertical Line]:The line can only be adjusted vertically (it remains strictly vertical).
- [Set as Horizontal Line]:The line can only be adjusted horizontally (it remains strictly horizontal).
- [Set as Forwardslash Line]:The line can only be adjusted along the forward slash direction (/)—it maintains this diagonal angle.
- [Set as Backslash Line]:The line can only be adjusted along the backslash direction (\)—it maintains this diagonal angle.
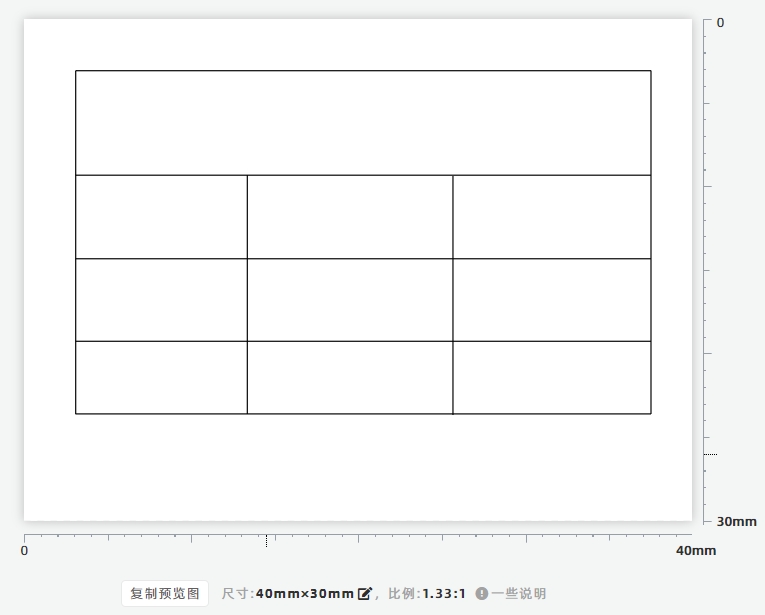
You can quickly draw tables by combining these five line types.
Magnetic Snap Function
When moving or stretching a line, magnetic snap is active at both ends of the line. The line will automatically snap to adjacent lines, making it faster and easier to create tables with aligned lines.
- Kindly refrain from reposting this article unless you have obtained permission.
- This is a translated article. Should you find any translation mistakes or content errors, please refer to the Original Article (Chinese), which takes precedence.
- Due to ongoing version iterations, the feature details and interface screenshots included in this article may not be updated in a timely manner, leading to potential discrepancies between the article content and the actual product. For the most accurate information, please refer to the features of the latest version.
If you encounter issues and need help, or have suggestions, please send feedback to DoingLabel.