How to Use the [QR Code] Label Component
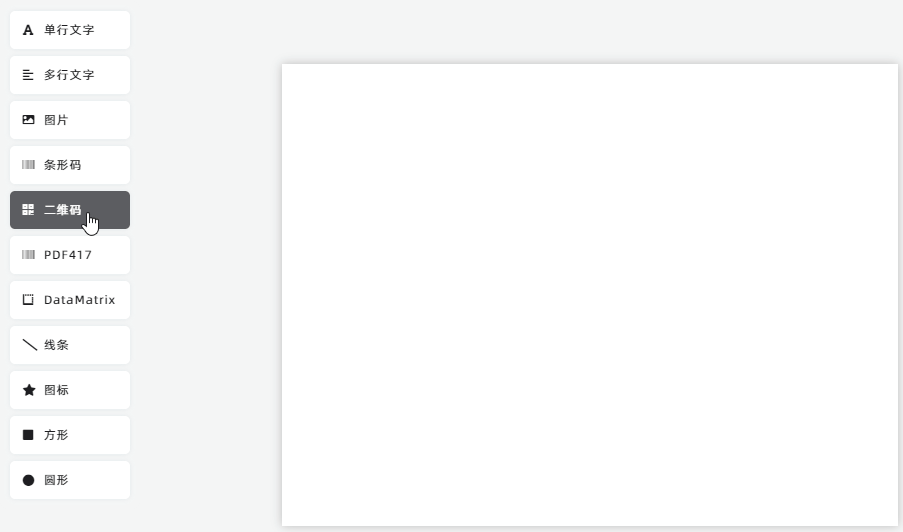
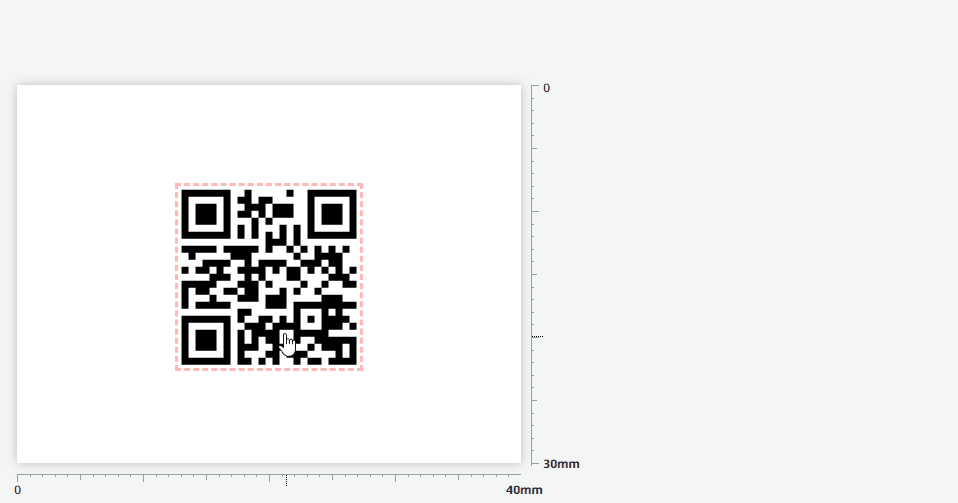
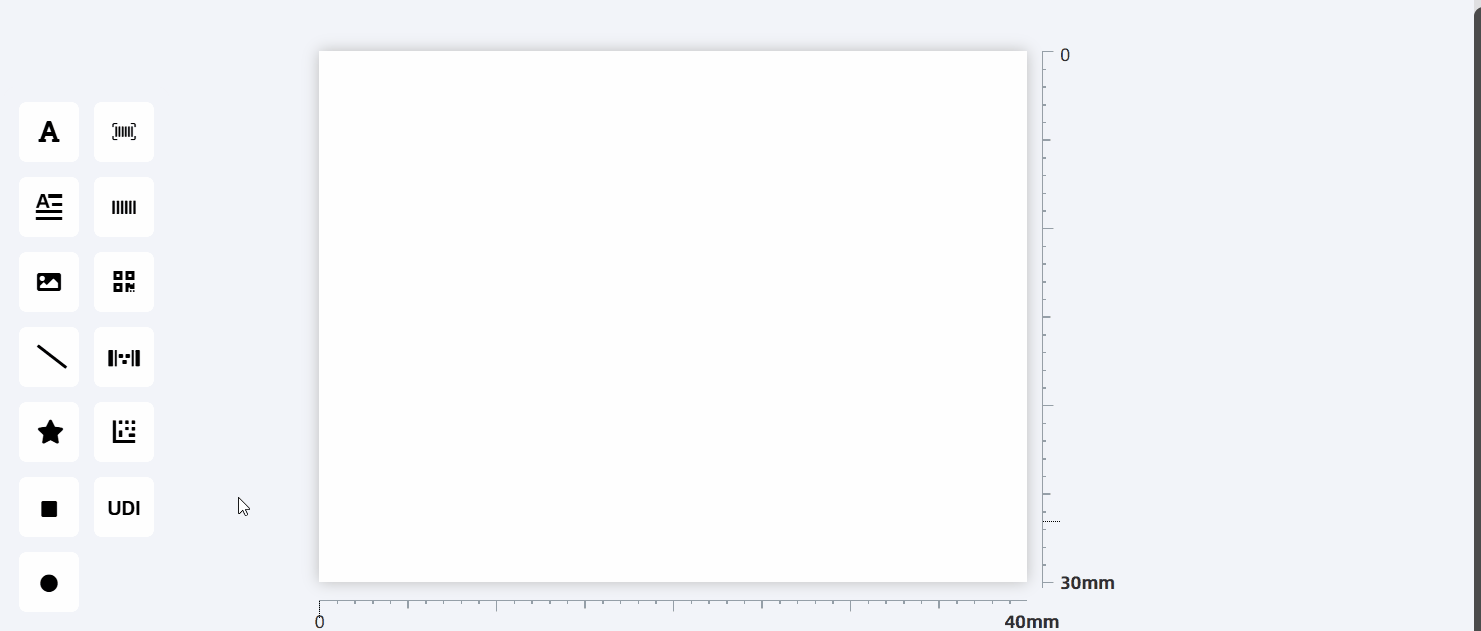
Route: Label Generator - [ How to Use the [QR Code] Label Component ]Click the [QR Code] component icon in the left-side Component Bar to add a QR code to the label template. Then, click the QR code in the preview to drag it to a new position or resize it (enlarge/shrink).
Set QR Code Content (Fixed or Dynamic)
A newly added QR code has no content by default. To customize its content:
- Click the QR code in the preview. A component editing panel will pop up on the right.
- Select the data source for the QR code by checking either [Fixed Text] or [Dynamic text, from Import Data]:
- Option 1: Fixed Text (same QR code content on all labels):
Check [Fixed Text], then enter the desired content in the input box below. The program will generate a QR code with this fixed content, and all labels will display the same QR code.
- Option 2: Dynamic Text (unique QR code content on each label):
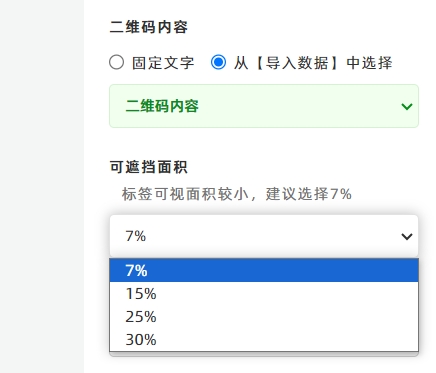
Check [Dynamic text, from Import Data], then choose the column containing the content for generating QR codes. For example, in the diagram below, the [QR Code Content] column from the [Import Data] list is selected. The program will automatically generate labels with unique QR codes based on the data in the [Import Data] table.
- Option 1: Fixed Text (same QR code content on all labels):
- Check the [Enable GS1-FNC1 mode] option (as shown in the diagram below).
- Enter the GS1 Application Identifier (AI) data string in the QR code content box.
Example of a valid GS1 data string:
010690000000000710ABCD1234{GS}214321DCBA{GS}1125112517191125309999
QR Code Error Correction Level
QR codes have error correction capability—this means they can still be scanned even if a portion of the code is covered (within a permitted range). This capability is defined by the Error Correction Level. There are four error correction levels available: 7%, 15%, 25%, and 30%. For example, selecting 15% means the generated QR code can still be scanned even if up to 15% of its area is covered. In the QR code’s component editing panel, the [Correct Level] option corresponds to the error correction level. You can also select from the four levels (7%, 15%, 25%, 30%) here.
Important Note About Error Correction Level A higher error correction level results in smaller QR code modules (the tiny squares that make up the QR code). If the modules are too small and the overall label size is small, the exported QR code may be too blurry to scan.
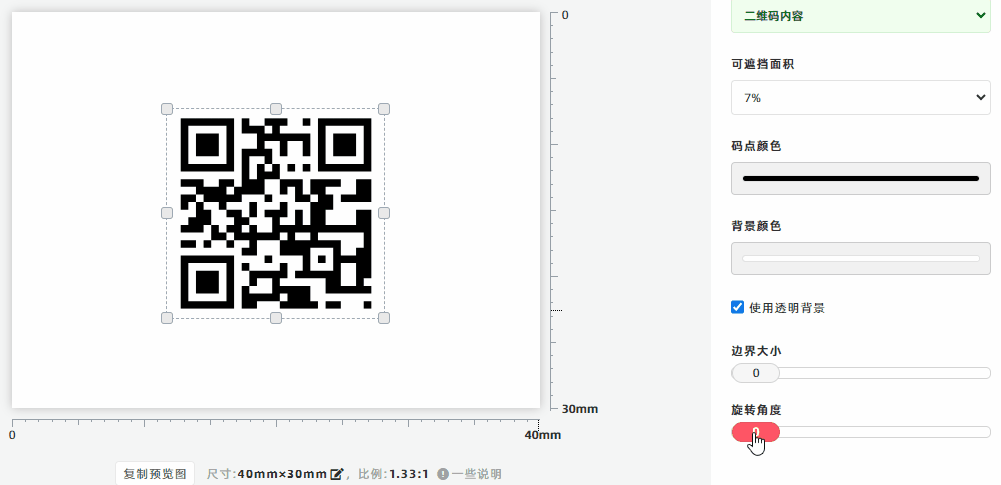
Rotate the QR Code
To rotate the QR code, adjust the [Rotate] slider in the component editing panel. See the diagram below for reference.
How to Generate Serial Numbers
In the [Import Data] module, navigate to the column header of the data list and click [Fill Serial Numbers] to generate serial numbers. For detailed steps, click Here to learn more.
Create GS1-Compliant QR Codes
If you need to create QR codes that comply with GS1 standards:
Key Rules for GS1-FNC1 Mode:
1. You do not need to add an FNC1 character at the start of the QR code content — DoingLabel will add it automatically.
2. For AIs with variable lengths, end the AI with a {GS} separator. The last AI in the string does not require a {GS} separator.
Warning: If you are unfamiliar with GS1-FNC1 mode QR codes, do not check [Enable GS1-FNC1 Mode]—this may result in un-scannable QR codes.
- Kindly refrain from reposting this article unless you have obtained permission.
- This is a translated article. Should you find any translation mistakes or content errors, please refer to the Original Article (Chinese), which takes precedence.
- Due to ongoing version iterations, the feature details and interface screenshots included in this article may not be updated in a timely manner, leading to potential discrepancies between the article content and the actual product. For the most accurate information, please refer to the features of the latest version.